How to install oracle database 11g

To install Oracle we need to follow below steps. So please follow them serially without missing any to successfully install the DB and configure it.
Pre Requisites:
You shall have a working java/jdk already installed and in PATH already. Java version should be 1.6 or higher.
1. Download the software’s from edelivery.oralce.com and put them into a single folder. Extract them and click on the setup file. No need to supply any email address and click on next

2. Click on Yes

3. Select skip software updates and click on next.

4. Keep the default settings like below and click on Next.

5. Depending on your requirement choose the option. Desktop class- contains normnal standalone DB and server class contains RAC,backup, recovery etc. Here we will choose desktop class.

6. Fillout the details like below and click on next.

7. Wait till checks are completed.

8. Click on install to start the installation.

9. Wait till the installation completes.

10. If in installation middle you see any popups saying allow access to network the select Yes so that installation can proceed.

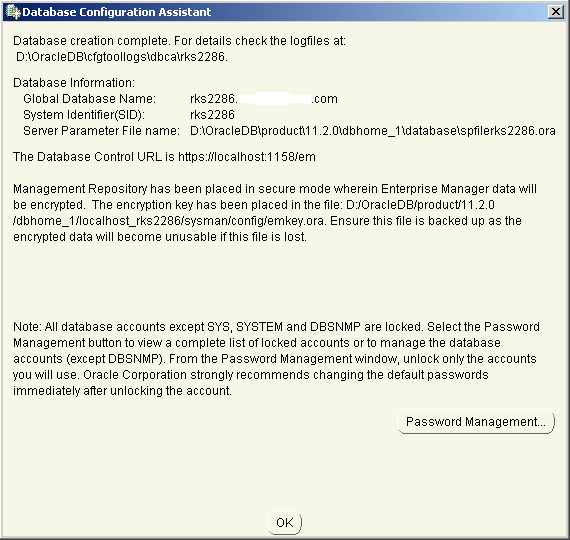
11. Once you see below screen click on OK

12. Click on close to complete the installation.

This completes your DB installation. Now you can use the DB for your operations.
Once you are done with the installation you can check the connectivity using sql developer like below:


You can also run https://localhost:1158/em/ on your browser to access the DB and check status of the DB like below


In case of any ©Copyright or missing credits issue please check CopyRights page for faster resolutions.